Add SLNG hosted speech to text and text to speech, and the SLNG Context Router, to a LiveKit agent.
Keep your LiveKit agent where it runs and swap its speech to text and text to
speech for SLNG hosted models. You can also point the language model at the SLNG
Context Router. The rest of your pipeline stays as it is.There are two ways to do it. Set up the layers in the dashboard and copy the
migration prompt for your coding agent, or make the edits yourself.
Improving an agent is à la carte. Turn on speech to text, the language model,
text to speech, or any mix of the three, and leave the rest to your current
stack. You decide which layers to optimize. Set up the ones you want, then copy
the prompt SLNG builds from your choices.
1
Choose LiveKit
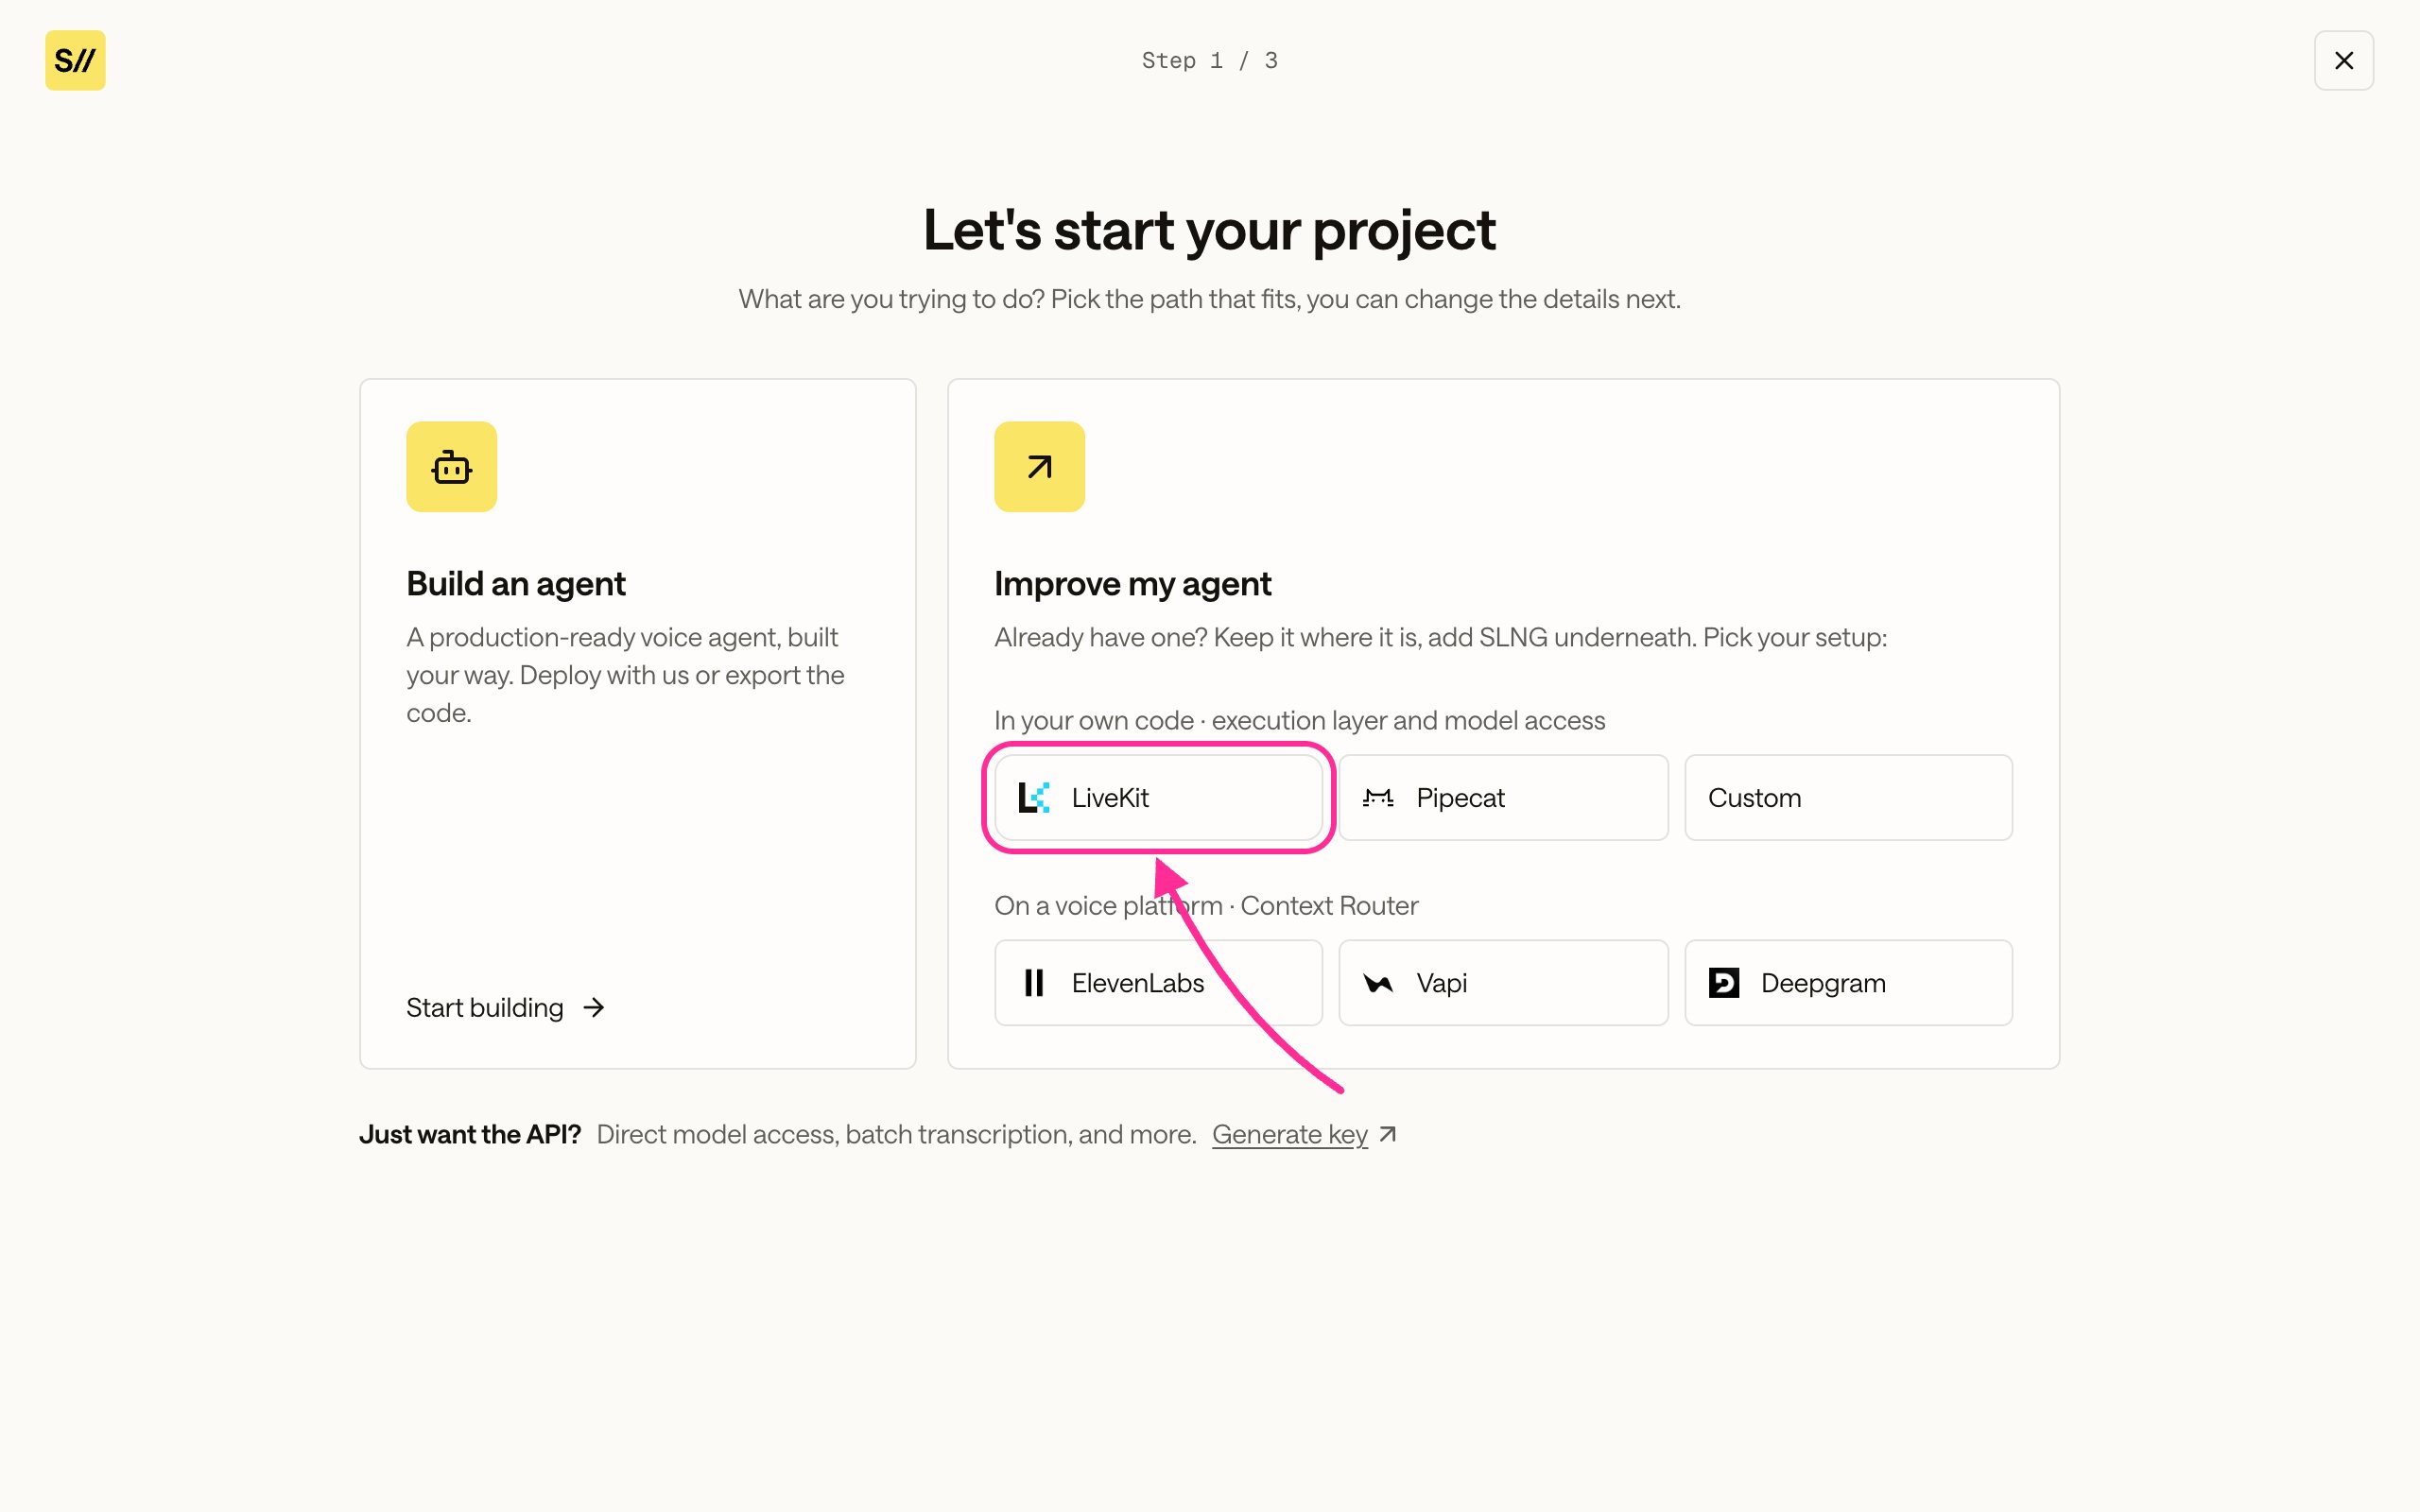
Start a new project, choose Improve my agent, and under In your own
code select LiveKit.
Choose LiveKit in the Improve my agent flow.
2
Set up Listen
Open Listen, turn on speech to text, and choose the model your agent
should use. Leave it off to keep your current speech to text.
Turn on Listen and pick a speech to text model.
3
Set up Think
Open Think, turn on the language model, and choose the model your agent
should use.
Think turned on with a language model selected.
4
Set up Speak
Open Speak and choose the text to speech model and voice. Use the
Include TTS toggle to route this layer through SLNG or leave it on your
current provider.
Use the Include TTS toggle to turn text to speech on or off.
5
Copy the prompt
Click Integrate in the top right, then Copy prompt in the modal. The
prompt is built from your Listen, Think, and Speak choices. Hand it to your
coding agent, which installs the
livekit-migration skill and applies the change.
Click Integrate in the top right.
Copy the prompt.
Example prompt
Your model IDs, voice, language, and region come from what you picked.
# Migrate this LiveKit agent to SLNG hosted STT/TTS and the SLNG Context RouterUse the SLNG `livekit-migration` skill to replace speech to text andtext to speech with `slng.STT` and `slng.TTS`. Replace the LLM withLiveKit's OpenAI-compatible plugin pointed at the SLNG Context Router using`bedrock-mantle/nvidia.nemotron-nano-3-30b:latest`.## Install the skill```bashnpx skills add slng-ai/skills livekit-migration```## Selected stack- STT: `slng/deepgram/nova:3-en`- TTS: `slng/fish/tts:s2.1-pro`- Voice: the voice you picked- Language: English (`en`)- Region: European Union, via the `eu.api.slng.ai` base URL- LLM: SLNG Context Router, model `bedrock-mantle/nvidia.nemotron-nano-3-30b:latest` at `https://au.context-router.slng.ai/v1`## Instructions for the coding agent1. Discover the entrypoint, package manager, env loading, and current STT/TTS/LLM wiring before editing. Do not assume file names.2. Establish a rollback point with a clean git tree.3. Validate `SLNG_API_KEY` without printing it.4. Install `livekit-plugins-slng` and import-probe `from livekit.plugins import slng`.5. Replace the STT and TTS constructors with `slng.STT(...)` and `slng.TTS(...)`.6. Point the LLM at the SLNG Context Router endpoint.7. Never inline API keys. Verify one spoken turn that completes STT to LLM to TTS.
If you would rather not use a coding agent, make the same edits directly. The
removed lines below depend on your current providers, so match them to your
code.
1
Install the plugin
Use your project’s package manager.
uv add livekit-plugins-slng
2
Point STT and TTS at SLNG
Swap the two constructors that feed your session. Keep the models, voice,
language, and region you selected.
- from livekit.plugins import deepgram, cartesia+ from livekit.plugins import slng- stt = deepgram.STT(model="nova-3")- tts = cartesia.TTS(voice="<your voice>")+ stt = slng.STT(+ model="slng/deepgram/nova:3-en",+ language="en",+ base_url="eu.api.slng.ai", # pin a region for latency or data residency; omit for api.slng.ai+ )+ tts = slng.TTS(+ model="slng/fish/tts:s2.1-pro",+ voice="<your voice>", # the voice you picked in Speak, e.g. a Fish Audio voice+ language="en",+ base_url="eu.api.slng.ai", # keep the same region as STT+ )
3
Point the LLM at the SLNG Context Router
Keep LiveKit’s OpenAI plugin and repoint it at the router. Pass stable agent
and session identifiers in the headers. Use a fixed agent_id for the
running agent and the current room or session ID for session_id.
from livekit.plugins import openai- llm = openai.LLM(model="gpt-4o")+ llm = openai.LLM(+ base_url="https://au.context-router.slng.ai/v1", # swap au for your region+ api_key=os.environ["SLNG_API_KEY"],+ model="bedrock-mantle/nvidia.nemotron-nano-3-30b:latest",+ extra_headers={+ "X-Slng-Agent-Id": agent_id,+ "X-Slng-Session-Id": session_id,+ },+ )
4
Verify
Run one spoken turn through your agent and confirm it completes speech to
text, the LLM, and text to speech.